Showing posts with label children/kids special. Show all posts

Sunday, October 14, 2018

SWEET BISCUIT | MAIDA BUSCUIT | DIWALI RECIPE

Sweet Biscuit is one of the recipes done during  festivals like Diwali, Holi etc. The main ingredients are Maida, Butter and Sugar. Butter gives crispness and nice aroma to the dish. A pinch of baking soda can also be added to give a flaky texture. The dough should be thick like poori dough, since sugar added in the dough tends to make it soft after a while. 


If the dough turns too soft, add little maida and knead again. It should be deep fried in low flame to get crispness, and also the inner portion to get cooked well. It will take atleast 6 to 7 minutes to deep fry one batch of biscuits. It will be soft at first, but will turn crispy after it cools down. It is popular all over India, but called by different names. The Spicy version of this recipe can be done by replacing sugar with spice.


Video recipe of Sweet Biscuit:


INGREDIENTS:
Maida/ All purpose flour - 1 & 1/2 cup
Powdered Sugar - 1/4 cup
Butter - 1/2 tsp
Milk - 1/4 cup
Cardamom - 1/4 tsp
Salt - a pinch
Oil - for deep frying


METHOD:

  • In a bowl, add butter, maida, powdered sugar and cardamom.
  • Crumble butter and mix all the ingredients well.
  • Add salt, and mix again.
  • Add milk and knead to dough similar to poori dough.
  • It will turn soft in quick time.
  • If the dough is too soft, add little maida and knead again.
  • If the dough is hard, sprinkle little water and knead again.
  • Take a small portion, dust little maida and start rolling.
  • Roll as thick as we do for pooris.
  • Using a biscuit cutter/ knife, draw lines of desired shape.
  • Deep fry in hot oil on low flame.
  • After 6 minutes, it starts browning.
  • Remove from oil when golden brown.
  • Crispy Sweet Biscuit is ready.


Stepwise recipe with pictures:
1. In a bowl, add butter, maida, powdered sugar and cardamom.


2. Crumble butter and mix all the ingredients well.
3. Add salt, and mix again.


4. Add milk and knead to dough similar to poori dough.

5. It will turn soft in quick time.
6. If the dough is too soft, add little maida and knead again.
7. If the dough is hard, sprinkle little water and knead again.

8. Take a small portion, dust little maida and start rolling.
9. Roll as thick as we do for pooris.


10. Using a biscuit cutter/ knife, draw lines of desired shape.


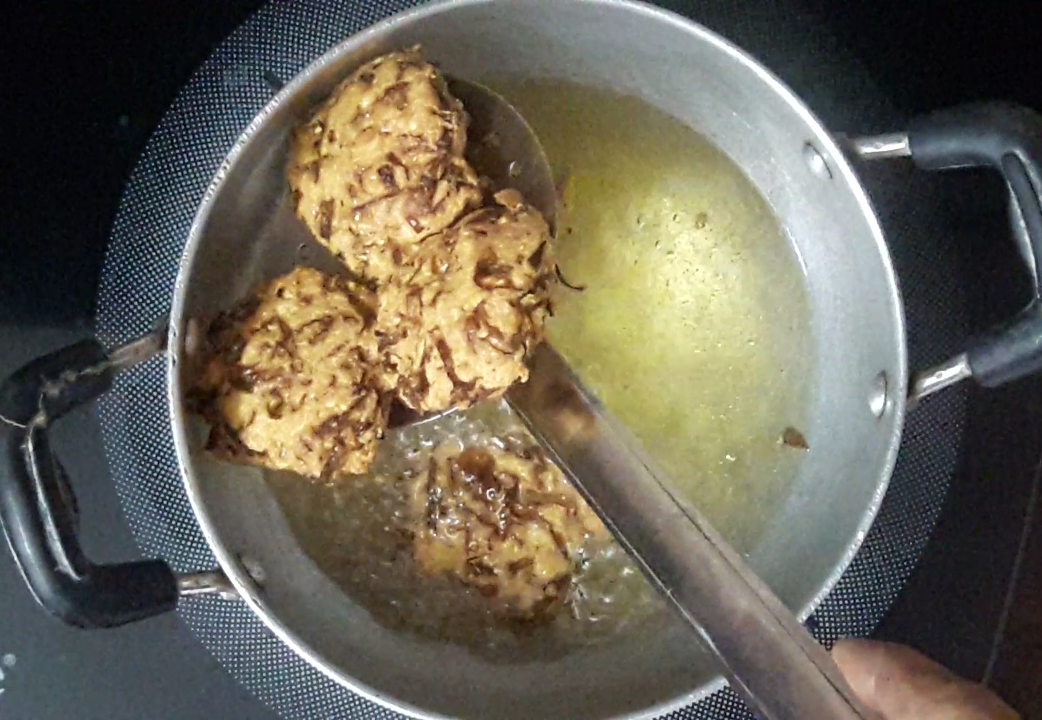
11. Deep fry in hot oil on low flame.
12. After 6 minutes, it starts browning.


13. Remove from oil when golden brown.
14. Crispy Sweet Biscuit is ready.


Sunday, October 7, 2018

CABBAGE VADA | CABBAGE VADAI | NO ONION NO GARLIC RECIPE

Cabbage Vada is done using bengal gram and little urad dhal along with fennel, red chilly and  chopped cabbage, deep fried in oil. Urad dhal is added to get little softness, whereas the outer layer will be crispy. Cabbage will taste crunchy. Since salt has been added while grinding, vadas should be made immediately as cabbage will let out moisture. If preferred to do little later, add salt and cabbage during deep frying. See blog for


Video recipe of Cabbage Vadai


INGREDIENTS:
Bengal gram - 1 cup
Urad dhal - 2 tsp (optional)
Red chilly - 2
Cabbage - 2 cups (chopped)
Fennel - 1tsp
Ginger - little
Salt - 1/2 tsp
Oil - for deep frying

METHOD:
  • Wash and soak bengal gram, urad dhal, red chilly for 2 hours.
  • Drain the water completely, add to a mixer.
  • Add fennel, ginger and required salt and grind coarsely.
  • Add chopped cabbage, mix well with hand.
  • Heat oil, add vadas of desired size.
  • Cook both sides, until the vadas turn crisp.
  • Tasty Cabbage Vadai is ready.

Step wise method of the recipe with pictures:

1. Wash and soak bengal gram, urad dhal, red chilly for 2 hours.


2. Drain the water completely, add to a mixer.


3. Add fennel, ginger and required salt and grind coarsely.

4. Add chopped cabbage, mix well with hand.


5. Heat oil, add vadas of desired size.


6. Cook both sides, until the vadas turn crisp.
7. Tasty Cabbage Vadai is ready.


Thursday, September 13, 2018

KOZHUKATTAI | MODAK | MODAKAM using almonds and nuts

Kozhukattai is an authentic recipe done during Vinayagar Chathurthi. It can be done with different stuffings using coconut or channa dhal or moong dhal or peanut along with jaggery and cardamom. Here, I have done using coconut and jaggery along with almonds and nuts. It tasted awesome and the quantity of stuffing was more. 


INGREDIENTS:
Rice flour - 1 cup
Milk - 1/2 cup
Water - 1/2 cup
Ghee - little
Oil - for greasing 
Salt - a pinch

For Puran/Stuffing
Coconut - 1/2
Almond - 10
Cashew nut - 10
Pistachios - 5
Jaggery - 1/4 cup
Cardamom - a pinch
Ghee - 1 tsp

METHOD:
1. In a mixer, add almonds, nuts and pistachios and grind to coarse powder and keep aside.
2. Grate coconut finely and add to a tawa along with almond and nuts mixture.
3. Add jaggery, and cook on medium flame.


4. Jaggery starts to melt and after a while coconut and nuts mixture gets blended and comes together.
5. Add cardamom powder, ghee, mix well and switch off the flame.
6. In a pan add water and milk together until it boils well.
7. In a bowl, add rice flour, little salt and ghee.
8. Add boiling milk little by little.


9. Mix with a spoon till it comes to crumbled texture.
10. Close with a lid for a while and using hand, mix well to form a dough. Sprinkle little oil and knead well.
12. Grease the modak mould with little oil. Join the mould together.
13. Take a little dough and press along the inner sides of the mould with space in the center for stuffing.
14. Place the stuffing  and seal the top with rice flour dough.


15. Open the mould carefully, and take out the modak. Likewise prepare all modaks.


16. Heat an idly pan, steam the modaks for 7 to 8 minutes till it turns glossy.
17. Tasty Kozhukattai is ready.


Note:

  • Adding milk gives a soft texture for the outer cover.
  • Milk & water quantity may vary according to the quality of rice flour.

Friday, March 16, 2018

PANEER GRAVY using khoya

This is a  mild gravy with sweetishness, using less spices and with rich taste. This is done using Paneer and instant unsweetened khoya/pal kova. It differs in taste and preparation is also different compared to other paneer side dishes  and less time consuming. Khoya can be prepared in home or else can be bought outside. This dish goes well with chappathi, roti, naan and dosa. Children will surely enjoy this dish since it is less spicy and tastes awesome.


INGREDIENTS:
Paneer - 200g
Milk powder - 50g
Onion - 2
Tomato - 3
Milk - 1/2 cup 
Garam masala powder - 1/2 tsp
Red chilly/Sambar powder - 1 tsp
Turmeric powder - 1/4 tsp
Ginger - 1 inch stick
Garlic pods - 4
Cloves - 2
Cinnamon - 1
Cardamom - 1
Kasuri methi - 1 tsp
Coriander leaves - little 
Ghee - 3 tsp
Salt 

METHOD: 
1. To prepare instant kova, add milk powder and little ghee in a bowl.


 2. Heat 1/4 cup of milk and add to the milk powder, mix well and keep aside.
3. In a dosa tawa, cut paneer into cubes and roast on all sides for a while. No need to add ghee.
4. Chop tomato into pieces and grind to a paste along with ginger and garlic.
5. In a tawa, heat a tsp of ghee, add cloves, cinnamon and cardamom and saute for a while.


6. Add finely chopped onions and cook well till the onion changes translucent.
7. Add all the powders, stir for a minute and add the tomato paste.


8. Mix well and cook it covered till the raw smell goes off and till it comes together. Add little ghee if needed.


9. Add instant kova and mix well. Add remaining milk and adjust the gravy consistency.
10. Add the roasted paneer cubes, mix well and cook it covered for few minutes. Add little water if the gravy is thick.


11. Add kasuri methi and chopped coriander leaves.
12. Tasty, aromatic and mild Paneer gravy is ready to be served.


Note:
  • If store bought kova, see to that it is unsweetened.
  • Ghee can be replaced by oil.
  • Tomatoes can be chopped finely and added instead of grinding. 
  • Ginger and garlic can be crushed and used.
 

Monday, March 12, 2018

Mixed Vegetable Bonda

This is another version of urad dhal vadai. Buy adding vegetables, it turns to be tasty and healthy.

See also for Medhu Vadai


INGREDIENTS:
Urad dhal - 250g
Toor dhal - 2 tsp
Rice flour - 1 tsp
Carrot  - 2
Cabbage 
Onion - 1
Green chilly -2
Corinader leaves - a little
Curry leaves - a leaflet
Asafoetida - 1/2 tsp
Pepper powder/Crushed - 1/2 tsp (optional)
Oil - for deep frying

METHOD: 
1. Soak urad dhal for 45 minutes and grind to fine paste by sprinkling little water along with green chillies, as we prepare for vadai and transfer to a bowl.
2. Heat oil for deep frying.
2. Add finely chopped onion, carrot, cabbage, corinader leaves, curry leaves, rice flour along with salt, pepper and asafoetida. 


3. Mix well with a spoon, and place little scoops of mixed batter in the hot oil or make small balls using fingers.
4. Deep fry until golden brown and remove from the oil.
5. Crispy and tasty Vegetable bonda is ready and can be served with any chutney variety and coffee.


Note:
  • Adding rice flour is a must since the veggies will let out water on mixing with the batter and will result in oily bondas.


Thursday, December 21, 2017

KAJU PISTA KATLI

This recipe is similar to Kaju Katli. We take equal portion of Kaju/Cashew and Unsalted Pistachios for this recipe. The green colour we get is natural and its flavour is unique. We can even make this katli more healthy by adding almonds too. See also for Cashew Badam Burfi and Badam Katli


INGREDIENTS:
Cashew nut - 1/2 cup
Pistachios -  - 1/2 cup
Sugar - 1/2 cup
Cardamom powder - 1/2 tsp
Ghee - 2 tsp

METHOD:
1. In a tawa, add cashews and pistachios and stir for few minutes till it becomes little warm. Allow to cool completely. No need to over roast it.


2. In a mixer, add the nuts and grind to a fine powder, add cardamom powder and keep aside. 
3. In a tawa, add sugar and 1/2 a cup of water and allow to boil.


4. Grease a burfi plate with little ghee.
5. Check for one string consistency, it might take 5 to 6 minutes approximately.
6. Lower the flame at once, add the powdered nuts and mix thoroughly.
7. At first it will turn watery and then starts to leave the sides of the pan. Switch off the flame.

8. Add ghee, give a mix and transfer the contents to the greased plate.
9. When the mixture is warm, cut into pieces of desired shape.
10. Tasty and tempting KAJU PISTA KATLI is ready.


Note:
  • Do not over cook after it leaves the sides of the pan, it might harden faster and we will not be able to cut into pieces.

Friday, October 13, 2017

CASHEW BADAM BURFI

This is also an easy recipe as Kaju Katli & Badam Katli. Here, I have done with slight variation giving importance to the sugar syrup one string consistency, which ended in reducing the cooking time and the burfi came out very well. It took around just 20 minutes. Soaking,peeling the almond and drying it has to be done little earlier. Easy way of peeling almond is to soak in hot water for 10 minutes and rub in between fingers, so that the skin gets peeled off easily. It has to be dried on a clean towel  before grinding into powder.


INGREDIENTS:
Cashew nut - 1/2 cup
Almond/ Badam - 1/2 cup
Sugar - 1 cup
Cardamom powder - 1/2 tsp
Ghee - 1 tsp

METHOD:
1. Soak Badam in hot water for few minutes and peel off the skin and pat dry it for an hour.
2. In a mixer, grind cashews to slightly coarse powder and transfer it to a plate.
3. Add badam and powder it the same way and transfer it to the same plate and add cardamom powder to it.
4. Grease a burfi tray with little ghee and keep aside.


5. In a thick bottomed tawa, add sugar and 1/2 cup of water and allow it to boil.
6. At first the sugar dissolves completely and starts boiling. 
7. Use a spoon/ladle and check for consistency by using the forefinger and thumb finger.

8. First, we will get the half string consistency and then one string consistency.


9. Immediately add the powdered cashew and badam and mix well so that no lumps are formed. The sugar syrup combines well with the powder in a minute.


10 When the mixture starts thickening, switch off the flame and keep on mixing for few minutes.
11. The mixture will thicken and start coming together. Add ghee and mix well.


12. Transfer to the burfi tray and level it using a spoon/ ladle.


13. When it little warm, draw lines of desired shape and size using a knife greased with little ghee.


14. After it cools down completely, the burfis can be easily removed.
15. Tasty and delicious CASHEW BADAM BURFI is ready.


Note:
  • Do not run the mixer for a long time, the powder might turn sticky.
  • Switch off the stove immediately when the mixture starts to thicken to avoid over cooking.
  • It has to be mixed well till it comes together like a dough. 
  • If over cooked, the burfis will turn hard.

Ads by Google

Ads by Google